What You'll Need
- A small hammer
- Rubber mallet
- Cordless drill
- Step ladder
- Bifold door kit
Time Required
You should be able to get the job done in just over an hour if you read up on the instructions beforehand. Allow yourself plenty of time to get it done. You need to get this done in a day but you also want to make sure you do it right.
Things to Consider
Before you start, check that you don't require planning permission. You can do this by calling or emailing your local council or checking the deeds for your home. If your home is less than 100 years old and isn't a listed building then there should not be a major problem here, but it's always wise to ask, as if you get stuck in then find out later that what you've already done is actually illegal, it can mean a lot of time, effort and money spent for nothing!
You should also make sure the aperture (door opening) is in decent condition before proceeding, as over the years, wear and tear on the opening could have left it unable to properly fit a new frame. You could always, of course, use the existing frame if it's just about the right size you're looking for, but most bifold doors will shop with their own frame. If you're replacing older doors, such as french doors, for example, it's also worth considering that the frame might not have been built with the tracking hardware required for bi-fold doors in mind.
If you're replacing existing bifold doors then you might be able to use the existing frame and hardware, so you'd just need to remove the old bifold doors from their tracks and hang the new ones, which is remarkably straight-forward. Bear in mind however the old hardware might need a little care and attention, or require replacing entirely.
Exact measurements are also incredibly important, so make sure your opening actually fits the doors you want. When measuring, you need to consider that you are not just accounting for the bifold doors themselves, but for the tracking hardware that will sit inside the door frame to allow the doors to function as advertised. As a general rule, the aperture should be between a foot and a half to 2 feet higher than the doors themselves.
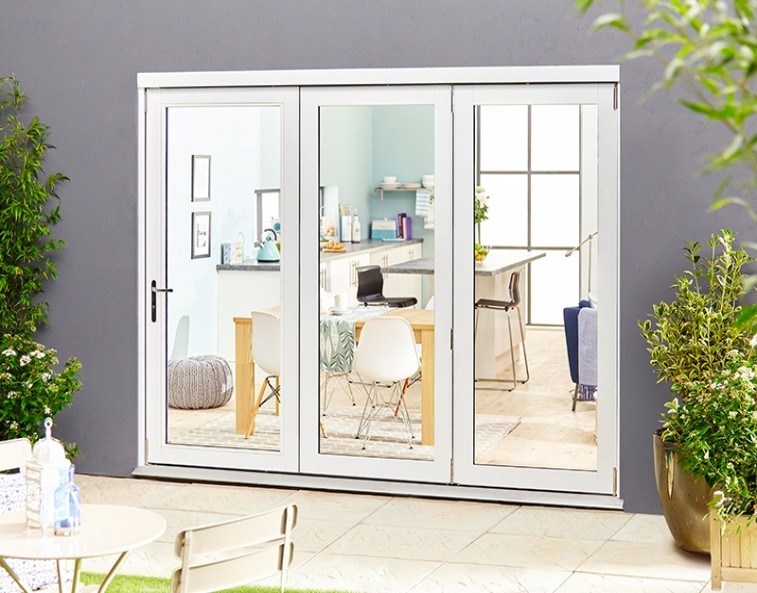
Fitting External Bifold Doors
1. Whilst many of the tools you'll need to hang your bifold doors should come with the door kit and the frame, there are certain tools you're going to want to have handy at all times during a job like this. For example you will need a pencil to mark where holes will need to be drilled, a drill, screwdriver, sealer and a spirit level.
2. The door sill might arrive pre-assembled (if so, skip to step 4), but if this is not the case you should use silicon or gap sealer to attach the disparate parts of the sill, then drill your pilot holes where needed.
3. Take your frame (you might need help with this if it's particularly large and/or heavy) and guide it in to the aperture until your markings line up. Once you're 100% sure it looks right and plumb (use your spirit level to check everything is square, straight and parallel), use some packing to hold it in place whilst you prepare the more permanent fixings.
4. Start drilling your holes around 8mm deep through your frame, making sure they line up with the markings on your opening. Then push in your fixing bolts and tighten them a bit at a time until you're happy with the results. This should leave you with the door frame.
5. With the frame sorted, it's now time to fix the sill and head. Again, whilst fixing make sure to tighten bit by bit and keep making minor adjustments until everything is level. Tighten everything until the lintel is just about to touch the head of the frame and then attach the hinges at both sides.
6. Now on to the bifold doors themselves. Begin by attaching the hinges (if they are not already attached) using the instructions included with your set as a guide. The hinges and how they are attached will differ depending on whether your bifold doors are hung from the top, use a bottom track or utilise both.
7. Once the hinges are all set you should finally be ready to hang your bifold doors! They should match up with the hinges, and should be connected via simple hinge pins. You'll also need to attach the rollers to the patio door hinges in the right places, but this shouldn't prove too much of an issue.
8. Once your bifold doors have been fitted, consider some weather sealant to keep everything sealed properly and you should be all set. When it comes to decorating your doors, always paint before hanging and allow them plenty of time to dry.
We also have a handy guide on how to make adjustments to your external bifold door to keep it in top shape.
Now that you know how to fit your external bifold door, check out our full range of external bifold doors to find the right one for your home. If you have any questions, get in touch with our friendly customer service team who will be happy to help.
In Summary
If you want to make the job of hanging your own bifold doors even easier there are a few other tips you can take into account. First, if you have sawhorses to hand you won't need to work on the floor when working on your doors. Another option would be to use the help of a friend. If you follow the steps above, however, you should be able to accomplish the job alone in just over an hour. That being said, you should never be afraid to ask for help if you feel like you need it.
If you need help adjusting your bifold doors, check out our handy guide on how to do it.

