Installing French Door Pairs
Installing French door pairs is similar to installing any other door. If you buy a set of doors that is just a pair, then you simply need to make sure that they are appropriately sized for the frame, and that you attach the hardware correctly depending on whether the doors are intended to open in or out. These subjects will be touched upon in our fitting guide. Folding French doors present additional challenges, though, because they usually have a single door that operates normally, and then others that slide and fold onto each other. The doors could have a 2,1 pattern (three leafs, with one that works like a normal door, and two that fold), 2,2 or even 3,2 or more – depending on how large of an opening you are looking for.
The instructions below are intended to explain how to fit folding French doors, but most of what is covered can apply to a standard 1,1 pair of doors as well.
Installing Folding French Doors
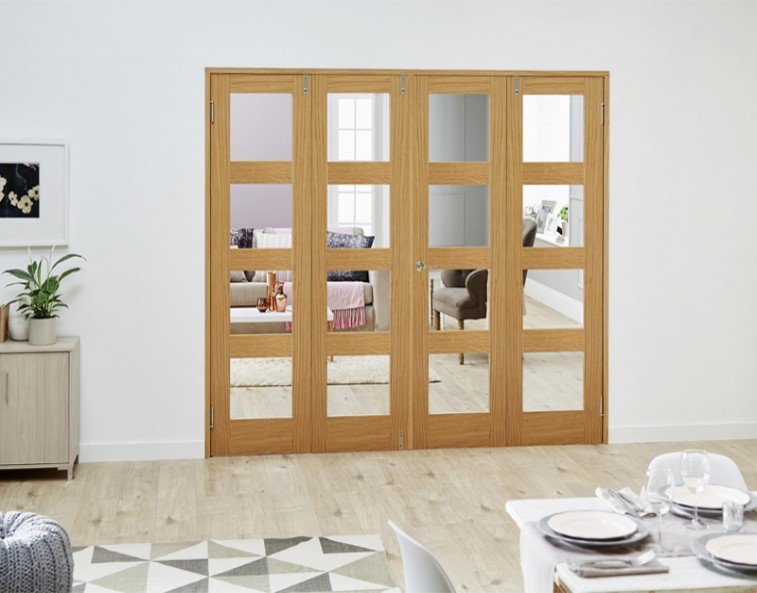
Before you install the doors be it external patio doors or internal folding french doors, it’s a good idea to make sure that you have the correct size of door and frame. Ideally you will measure for your new doors before you buy them. You should take six measurements – three for the height, and three for the width. Take measurements at the left, right and center for the height, and the top, bottom and middle for the width. Use the largest measurement in each case. If the measurements vary massively, this could be a sign that the door frame/opening is not completely plum. For small differences, it is usually possible to simply use a shim in the frame to compensate for any issues.
For the purposes of this guide, we will assume that you have an appropriately sized door and that the opening is in good condition, including the lintel. If the lintel needs repaired, or the aperture is not the right size, then you should consider calling in a structural engineer to fix this, because it can be a large job.
You Will Need:
- A spirit level
- Silicon glue/sealant
- Set square
- A drill
- Screwdriver
- String/rope (to make a plumb measure)
- Pencil or chalk
1) Begin by assembling the frame. In some cases, the sill is shipped pre-assembled, but in other cases you will need to glue it together with some silicon sealant, and push the parts into place, then drill through the three fixing holes so that you can use them to secure the sill into the opening.
2) The frame should come with some screws and gaskets, as well as some silicon sealant. Apply the sealant at the end of the head assembly, and to the ends of the jamb assembly as well. Attach the jamb assembly to the head assembly. Apply some silicon sealant to the ends of the tenon as well, and slot that into place in the sill end of the jamb assembly. Make sure that everything looks square and stable and is plumb.
3) Now it’s time to attach the jamb assembly to the head assembly, and slot the tenon into the correct channel at the sill end of the jamb assembly. Make sure that all of the corners are square – you can adjust the frame by loosening or tightening the screws. Once you’re satisfied that everything is stable, secure the tie plates to the underside of the frame, lining them up with the pilot holes you drilled in step one.
4) Carefully guide the frame into the opening and line up the fixing holes so that they are in the right place for the head track. When you are satisfied that everything lines up, pre-drill the lintel, and then remove the frame head and pre-drill matching holes into the masonry. These holes should be about 40mm deep, to accept the fixing screw.
5) Place a small amount (around 5mm) of packing between the head and top, and under the sill, to ensure that the frame fits snugly, but not too tight. Re-test with a spirit level, and add or remove packing as required to make sure that the frame is horizontally level and vertically plumb.
6) Once the frame is secure with packing, drill the fixing holes into either side of the frame, and insert the fixing bolts. The guide holes should be 70mm deep. Tighten the fixing bolts, but take care not to make them so tight that the frame is distorted. Repeat this with the fixings for the head – starting with the outer holes, then partially tightening them. Do the inner holes next, and partially tighten those, then work from the jamb inwards, tighten the fixing screws to create a very slight upwards curve to the head.
7) Now fit the hinges. Exactly how you do this will depend on how the doors should swing, and their size. There should be some directions for doing this with the doors themselves. If you have purchased a door with a multi-point locking mechanism, install this as well.
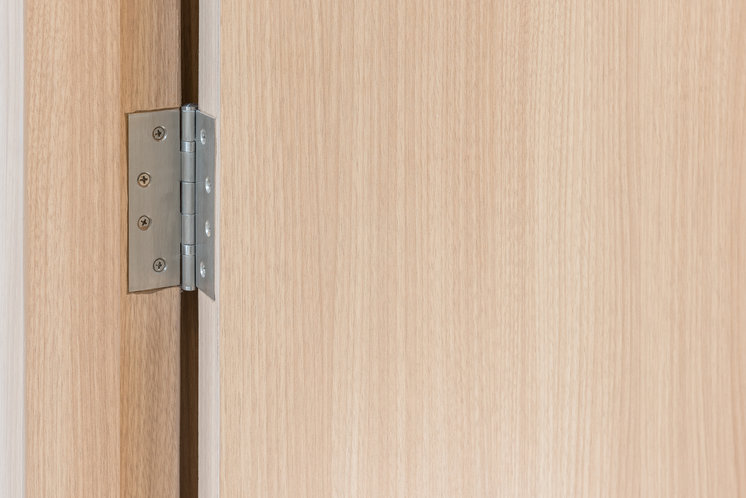
8) The carrier hinges and pivots will need to be fit into the top track. There are cut-outs at the end of the track (depending on the size of the door, there may be cut outs at both ends). The pivot hinges should sit in a position that allows you to reach the adjustment screws after the doors are slid into place.
9) Each door should go into place one at a time. Stop after attaching the hinges and make sure that the door is completely vertical (you can adjust the upper and lower pivot hinges to align the door) before hanging the next one. Each door attaches to the pivot hinges using the pre-drilled holes.
If the last few steps seem vague, that is intentionally so. Every set of sliding, folding doors works slightly differently and it’s important that you read the instructions that came with the door to make sure that you mount everything correctly so that the door moves smoothly.
How to Install the Door Pulls on Frenchfold Doors
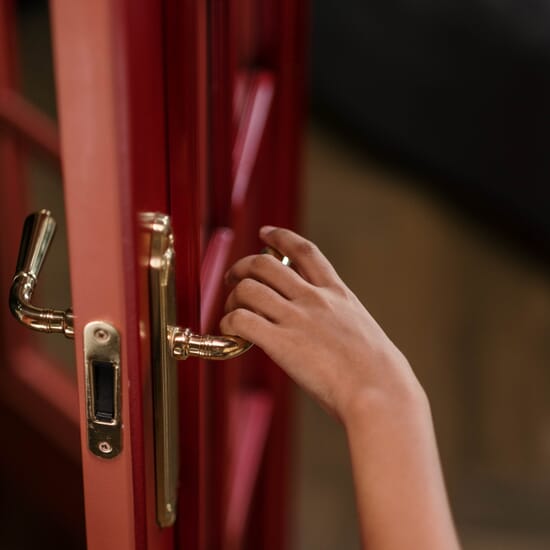
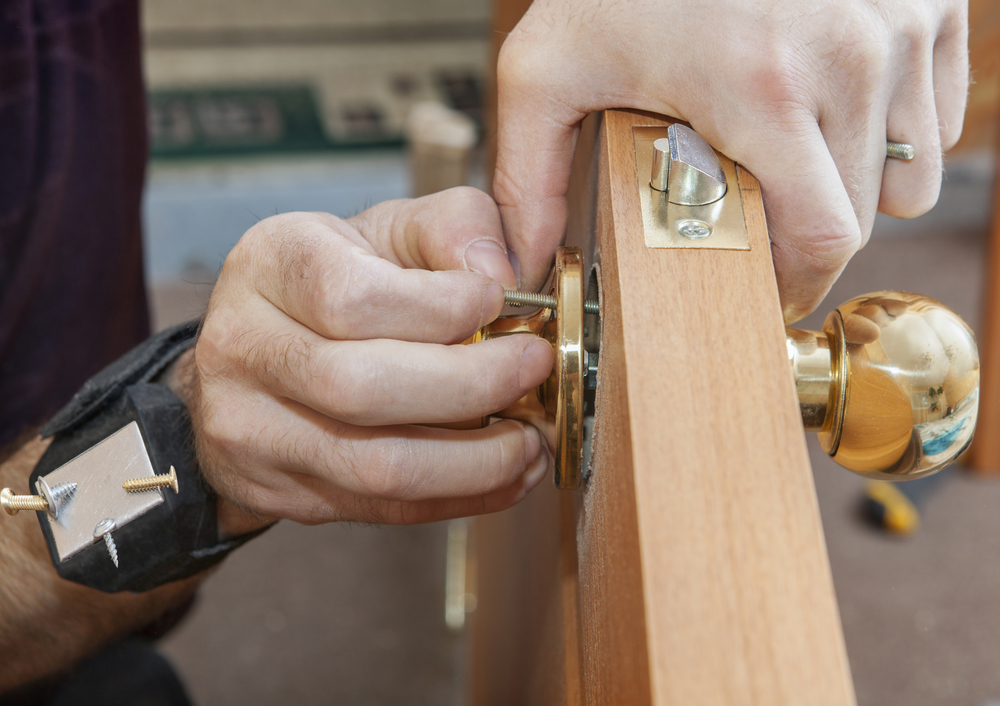
In some cases, the required position for the handles will be determined by the manufacturer, but this is not always the case. With internal french folding doors in particular you often have a good degree of freedom with where to mount the handles. The height of the handle will depend on the height of the people who are using the door. Ideally, you want it high enough that the handle can be reached without any adults in the house having to bend over to operate the door.
The position of the handle will affect how easily you can pull the door to open or close it. The ‘ideal’ position is in the horizontal centre of the two leading doors – but this isn’t always an option, especially with glass doors. In that case, positioning it near the hinge-edge is a good option.
Adjusting Your Frenchfold Door
If your doors do not move freely after installation, then it could be that the panels are not sitting in the tracks properly. If the lead door – the one that you would pull on to move the other doors – is binding when you try to move it, then it is probably not set properly in the opening. You can adjust the position of the door by tightening the hinges. If it is the other doors that are dragging, then they are probably sitting too low in the track. You can extend the hinge bolts for those doors to raise them, or push them in to lower the door.
It’s easy to make small adjustments while the doors are in place. For bigger adjustments – such as sanding down the lip to make the door fit if it is too tight, or to replace a hinge – you might want to remove the door from the track. This is usually a case of just popping it out of the track using the spring-loaded pin that is located on the edge of the door. The springs should be quite tight, and may need a fair amount of force, but don’t worry about breaking the pin. It’s a good idea to have a second person with you when removing the door, because even a glass door can be surprisingly heavy.
Before making substantial adjustments to the door, however, check that the frame is level and square and that it is secure in the opening. If the tracks wobble, tighten the screws that hold it in place, and test the doors again. You may find that they move much better once the track is secure.
In Summary
You can learn about the difference between internal french doors, sliding doors and bifold doors here.
Check out our full range of internal French folding doors to find the right one for your home. If you have any questions, get in touch with our friendly customer service team who will be happy to help.

